
Oahu is paradise, and truly a photographer’s heaven. I brought some of my camera gear with me in to take some nice portraits of family members.

We started our hike to our first location, the Kaniakapupu ruins, which was the Summer home of King Kamehameha. I was lucky enough to have a local photographer that I met at Creative Live come with me on the hike to assist me. The mosquitoes were out in full force on this day, so we worked quickly to take a few shots, since it looked like it was going to rain soon. I found this area with a path and bamboo on each side and set up my LitePanel to kick some nice, warm light back at my subject.


It filled in the shadows on his face nicely and the two-tone fabric gave him a nice skin tone that you typically wouldn’t get from using a silver side or gold side on their own. Here’s the image I finally decided on. The LitePanel helped me get a good exposure in a situation where the lighting was changing rapidly.

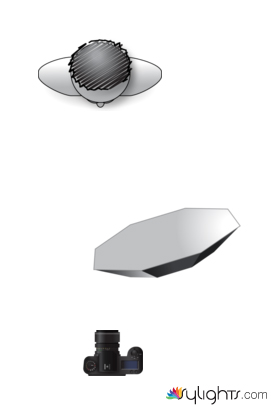
The mosquitoes were getting the best of us and I started to get tired of waiting for the sun to peek out, so I quickly set up my strobe and OctoDome. I triggered this using Pocket Wizard Plus 3 units and powering the lights with a small, portable battery pack.


With that all set up we continued firing off a few shots. I had to adjust my shutter speed frequently to keep up with the changing ambient light. I finally settled on this image of him. I was shocked at how even the lighting was from the smaller modifier. It was just perfect to use in a situation where natural light was eluding me.

Next up we drove to the Pali Lookout. The scenery here was just epic. There were a lot of tourists here and very high wind gusts that made it hard to walk, but we settled on a small road that would give me a view of the background and started shooting. First things first. I use my camera to see what the ambient exposure should be. I tried several settings but I personally liked the look that these settings gave the background.

I didn’t mention this but earlier in the day my model/brother in law had a few cavities filled, and earlier in the week had broken a toe on one foot and received a deep gash on his other knee so needless to say he wasn’t feeling great. I wanted to work quick so we could carry on with our day and shooting with strobes really made the difference.

Here’s our final image. I dialed down the aperture a bit to brighten him up and on a cloudy day I was happy to walk away with this image.

After a few hours rest, Matt decided he was in too much pain to conitnue modeling, so one of my cousins decided to step in and assume modeling duties. She’s an avid surfer and really wanted a portrait with her surfboard.


We found an area of this park where she could be backlit by the sun, and I used the same strobe set up that I’ve been using the entire trip to light her from the front.

After hiking several miles that day I would really encourage you to bring some of these excellent, light-shaping tools with you on your own family vacations. It will really increase the chances that you come home with some really excellent portraits that you and your friends or family would be happy to share.
—
Written and photographed by Miguel Quiles.
Basic Lighting,
Lessons with Video,
Outdoor Portraits,
